How to Create a Digital Product in One Weekend
Disclosure: This post may contain affiliate links. I may receive a small commission at no additional cost to you if you purchase a product or service using one of the affiliate links within this post. I love all my affiliates and make sure they align with my brand before allowing them into my blog. Thanks for your support!
Creating a digital product in just one weekend might sound like a whole lot of work in very little time, but it’s completely possible with the right plan and mindset.
Our main focus is efficiency.
The simpler we make the process, the better!
How to Quickly Create Digital Products
Since we're looking to create a product quickly, we also need to understand our limits.
For example, making a multi-section course or a membership site isn’t a realistic weekend project.
Instead, I like to focus on smaller digital products that still generate a passive income.
So by first figuring out the product you want to create and then following a simple plan, we can make a really great product that helps our audience and sells.
Which is why I have broken down this post into 3 sections:
Product Type
Production plan
Marketing Plan
Let's get into it!
The Types of Digital Products You Can Create
Let's start off by choosing the type of product you're going to make.
As I mentioned, smaller products are better since we plan to finish everything in one weekend.
Here are some of the best options for this:
Journal. A guided or interactive journal helps your audience reflect, plan, or track progress. For example, gratitude journals, fitness trackers, or business planning journals.
Cheat Sheet. A one-page summary packed with tips and tricks. These are perfect for helping your audience quickly grasp a topic or process.
Mini Course. A small series of lessons about a specific subject. For example, you could create a three-module course on beginner Pinterest strategies or productivity hacks.
Guide. A step-by-step manual or ebook that gives advice or instructions on a particular topic. For example, "The Ultimate Guide to Growing Your Email List" or "How to Start Freelancing."
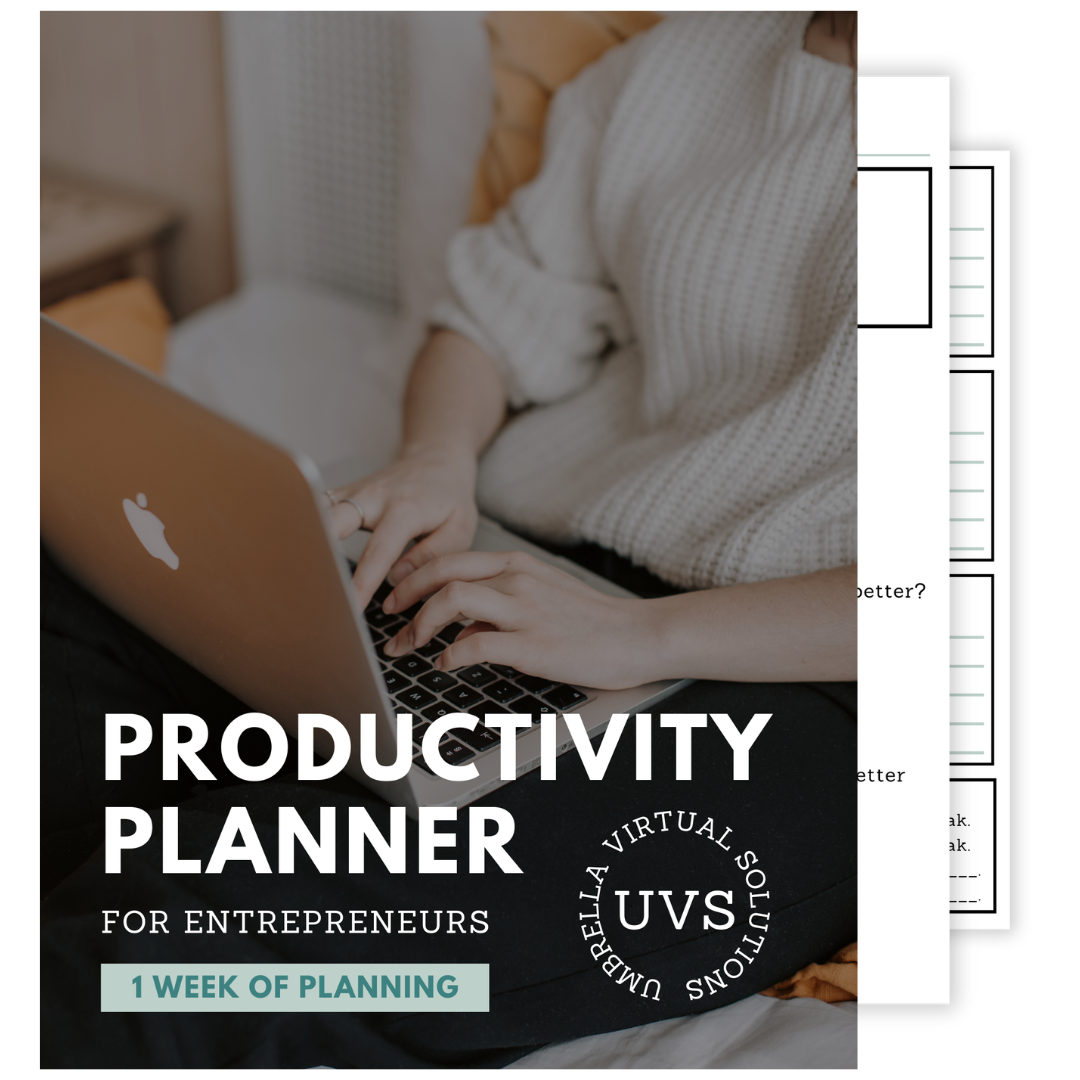
Planner. Tools to help your audience organize their time, goals, or tasks. For example, daily planners, meal prep schedules, or project planning templates.
Checklist. A straightforward list that helps your audience complete a specific task or process, such as launching a blog or hosting a webinar.
Video Training. A single video lesson teaching a specific skill or solving a particular problem. For example, a 15-minute tutorial on using Canva or setting up an email marketing funnel.
As you brainstorm, I'd suggest you put yourself in your audience’s shoes.
What would they find most helpful or exciting?
Choose a product that solves a problem or makes your life easier.
Grouping Digital Products by Creation Method
Once you’ve chosen your product, the next step is to create it.
Here’s a plan to create each product, grouped by similar methods.
Journals and Guides
These products rely heavily on written content and simple design.
Plan Your Content
Outline the purpose of the journal or guide. What problem does it solve, or what goal does it help your audience achieve?
Create a list of prompts (for a journal) or sections (for a guide).
Write the Content
Use your outline to draft each section. Keep your tone conversational and helpful.
For journals, include instructions or tips to guide users as they fill it out.
Design the Product
Use Canva or something similar to create your design. Choose a clean layout and use your brand’s fonts and colours!
Add placeholders for interactive elements like fillable fields or blank spaces.
Export and Finalize
Save your journal or guide as a PDF for easy distribution.
Give it one more look over for typos and formatting issues before publishing.
Cheat Sheets, Checklists, and Planners
These products need to be extremely easy to use.
Outline the Content
For cheat sheets, list key tips or shortcuts related to your topic.
For checklists, break down a process into simple, actionable steps.
For planners, decide on the structure (e.g., daily, weekly, or monthly).
Design for Simplicity
Use Canva to create a clean, minimalistic layout. Remember, less is more when it comes to these kinds of products.
Use bold headers and bullet points to make the content easy to skim.
Add Visual Appeal
Add elements like borders, icons, or subtle patterns to make the product visually engaging.
Export and Test
Save your design as a PDF. If it’s a planner, test-print a page to make sure everything looks right on paper!
Mini Courses and Video Training
These products need some video work but can still be created quickly.
Plan Your Content
Break the topic into 2-4 main sections or lessons.
Write a script or bullet points for each video to keep your presentation focused.
Record the Videos
Use tools like Zoom, Loom, or your phone to record.
Speak clearly, and don’t stress about perfection. Natural delivery works best!
Edit the Videos
Use basic editing software like iMovie or CCanvasvideo editor to trim unnecessary parts and add titles or captions.
Host the Course
Upload the videos to a platform like Teachable, Thinkific, or your own website.
Include a simple PDF workbook or checklist as a bonus.
Promoting Your Digital Product
Your product is ready!
Here are some options to promote it.
Email List:
Send an email announcing your product. Talk about its benefits and include a clear call to action.
Share testimonials or early feedback if possible!
Post on Social Media:
Create posts, stories, and reels showcasing your product. You can also give followers a sneak peek before you launch!
Share behind-the-scenes content about your creation process.
Write a Blog Post:
Write a blog post related to your product. For example, if you created a planner, write about "How to Plan Your Day for Maximum Productivity" and link to your product.
Pin It on Pinterest:
Design pins featuring your product and link them to your sales page.
Use long tail keywords to make sure your pins reach the right audience.
Offer a Limited-Time Discount:
Create urgency by offering a special launch price for the first few days (I like to call these "Early Bird Offers").
By following this process, you can create and launch a valuable digital product in just one weekend.
Not only will you save time, but you’ll also give something truly helpful to your audience.
Now, it’s your turn!
Grab a cup of coffee, roll up your sleeves, and get to work on your next bestseller!
Are You Ready to Create a Digital Product?
Thanks for reading this far!
If you want to chat about anything I mentioned in this blog post, I'd love it if you DM me on Instagram!
See you soon!
Isabella


